Cleaning, Conservation and Repacking of a Fragile Hairpin
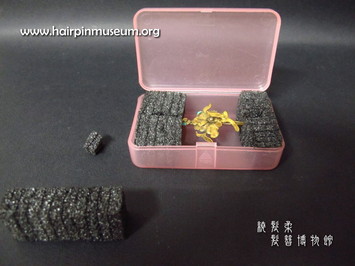
This hairpin arrived in the conservation laboratory packed in a small plastic box that was used for transportation. The most serious problem was a small decorative element (shaped like a leaf) that was 99% broken off from the main object.
The aim of the conservation treatment was to clean the hairpin of dust and corrosion, stabilize or repair the damaged element, and repack in a permanent storage box.
The first part of any conservation treatment is documentation and evaluation of an objects condition - the "condition report".
The aim of the conservation treatment was to clean the hairpin of dust and corrosion, stabilize or repair the damaged element, and repack in a permanent storage box.
The first part of any conservation treatment is documentation and evaluation of an objects condition - the "condition report".
Condition Report
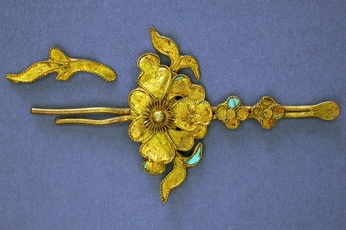
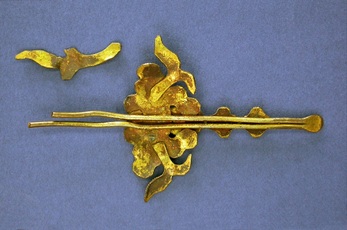
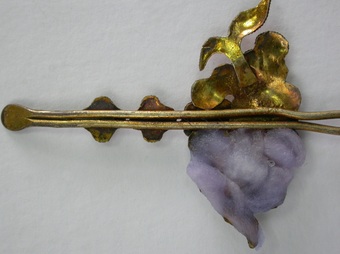
The hairpin was carefully examined under a low-power binocular microscope (~6X magnification). The front of the hairpin had lost almost all of the kingfisher feather decoration that originally covered the flower and leaf surfaces. Those feathers that survived in place seemed securely glued in place. At some time the wire pins had been cut off 10-15 mm below the decorative motif. The lowest leaf element was torn away from the flower and was only held to the body of the hairpin by a fraction of a millimetre. From the colour (golden brown) of the metal surfaces on the torn edges and the cut wires it is probable that the base metal is a low-tin bronze. The front and back surfaces were gilded and from the texture it is probable that this was mercury-amalgam gilding (fire gilding) rather than electroplate.
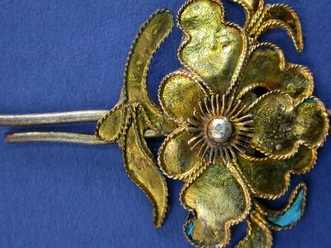
Front and reverse of the hairpin before conservation. It was decided that the best way to deal with the broken element was to remove it entirely for cleaning and reshaping, since it would almost certainly be dislodged anyway. Note the red-brown corrosion on the surface of the gilding, especially on the reverse.(Click on the pictures to see an enlarged image)
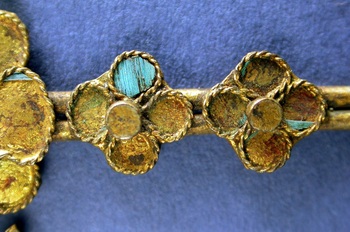
The picture on the left shows a detail of the few surviving fragments of kingfisher feather on the hairpin (Click on the picture to zoom in). Note the remnants of glue (probably an animal skin glue) and the reddish corrosion.
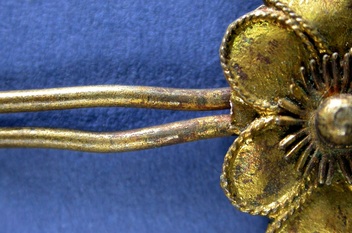
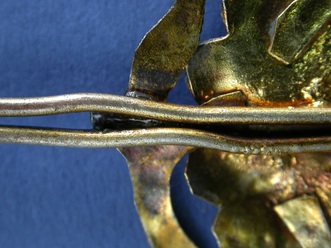
The picture on the right shows a close up of the broken element. There is no trace of solder on the pins - indicating that the broken part was connected only by this thin neck of metal (Click on the picture to zoom in).
The picture on the right shows a close up of the broken element. There is no trace of solder on the pins - indicating that the broken part was connected only by this thin neck of metal (Click on the picture to zoom in).
Treatment
The hairpin and loose fragment were cleaned using a combination of mechanical and chemical cleaning. Because the gilding was so thin it was not recommended to use an abrasive polish to remove the corrosion. A commercial silver or brass polish would leave the surface looking too shiny and "fake", even if it did not remove the original gold.
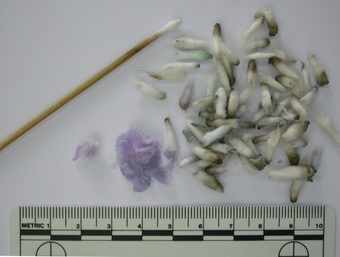
All cleaning was done under the binocular microscope at a magnification of 10X. Small test cleaning was carried out on the back of the hairpin. It is usual to practice on an inconspicuous part of any object when attempting any conservation work. The first test was with 10% formic acid (HCOOH) on a small cotton wool swab (pH = 1.5). This was effective but slow and needed careful rinsing with RO water. Next the surface was swabbed with dilute ammonia solution (pH = 11). This was very effective at removing the copper corrosion overlying the gold and much more gentle than the formic acid. Ammonia solution is a actually a gas dissolved in water and is quite easily removed by swabbing in pure water. To remove the thick corrosion on the reverse small pads of cotton wool soaked in ammonia solution were left in place for 5-10 minutes and then the area rubbed with small cotton wool swabs. Copper dissolves in ammonia solution and after a few minutes the cotton wool swabs turn pale blue - indicating that the corrosion has moved into solution (see below).
It was very important not to allow ammonia solution to run onto the kingfisher feather on the front side because alkali will dissolve animal skin glue and the feathers would fall off.
The image on the left shows an ammonia poultice on the back of the hairpin after 10 minutes. The cotton wool turns a pale violet colour showing copper ions have moved into solution in the ammonia. When cleaning a delicate object under the microscope it is necessary to use very small tools and swabs (picture on right). It really is like microsurgery. The green swab is the one where the corrosion was cleaned with formic acid.
(Click on the pictures to see an enlarged image)
The front of the hairpin was also cleaned carefully with ammonia but using very tiny ammonia swabs to remove corrosion from the individual decorative elements. Great care was taken to avoid wetting the kingfisher feathers because these might become loosened with either ammonia or the pure water.
Once all the hairpin and the loose piece were cleaned, rinsed and dried the thin gilt bronze sheet was straightened and reformed using nylon tipped tweezers. Bent parts of the star-shaped elements of the flower were also corrected. Then the loose element was carefully placed back in the correct position and secured in place with a conservation quality, reversible adhesive (Paraloid B-48N).
Once all the hairpin and the loose piece were cleaned, rinsed and dried the thin gilt bronze sheet was straightened and reformed using nylon tipped tweezers. Bent parts of the star-shaped elements of the flower were also corrected. Then the loose element was carefully placed back in the correct position and secured in place with a conservation quality, reversible adhesive (Paraloid B-48N).
(Click on the pictures above to zoom in)
Safe Storage and Packing
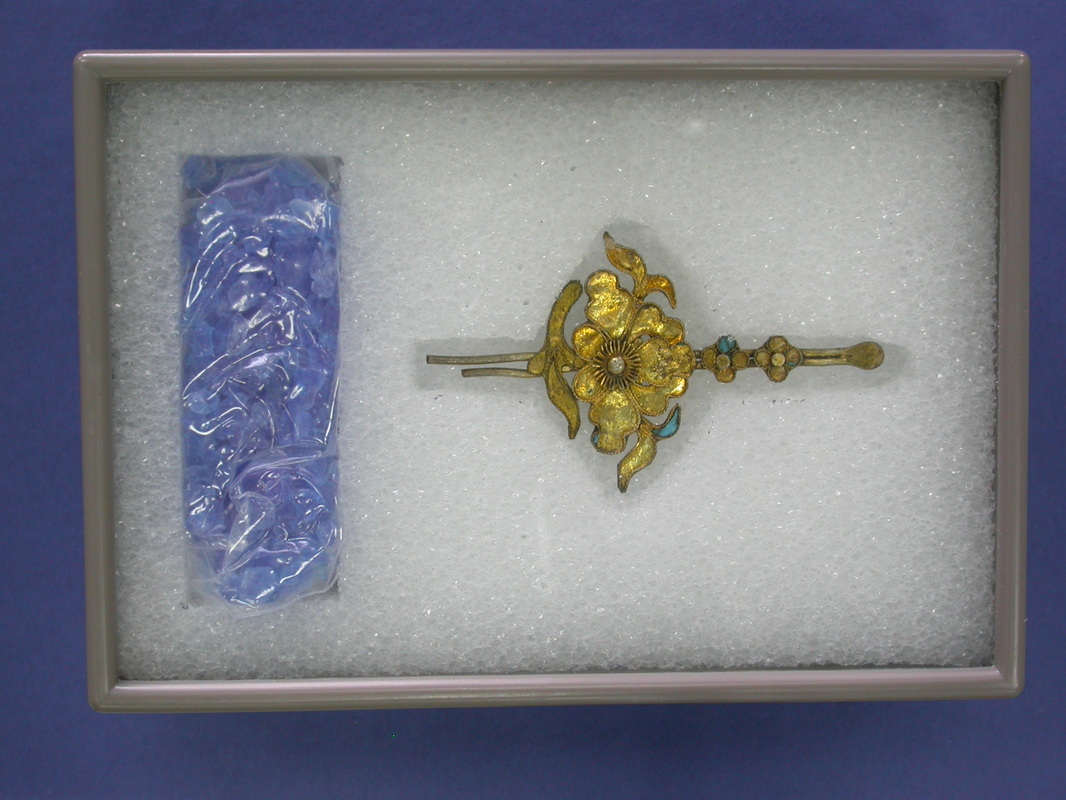
The final part of the conservation job was to provide safe and permanent packing for the hairpin. This should provide physical support and protection, whilst at the same time providing a safe environment and allowing people to view the object.
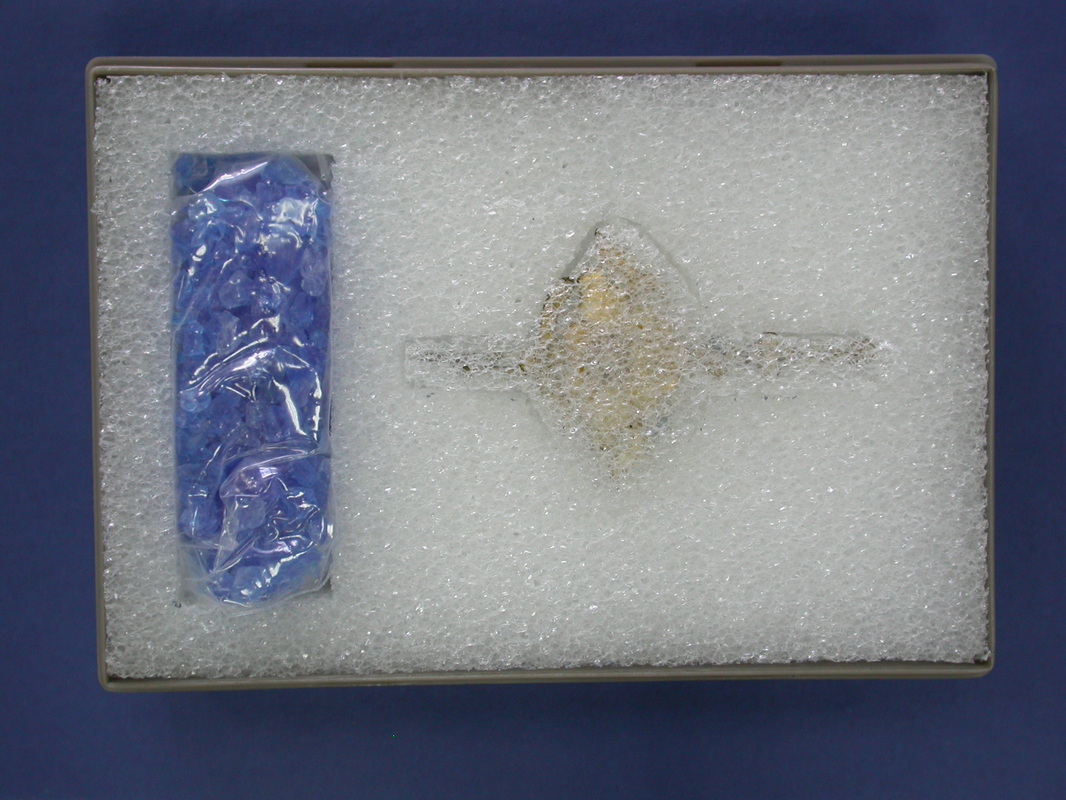
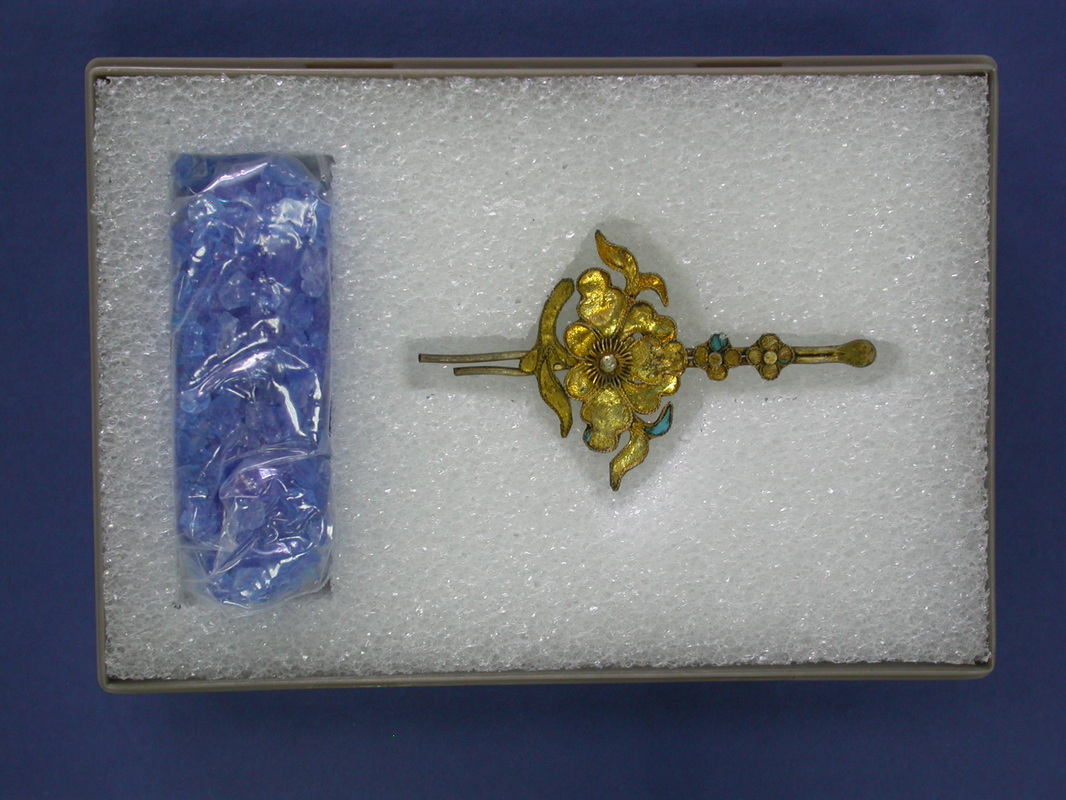
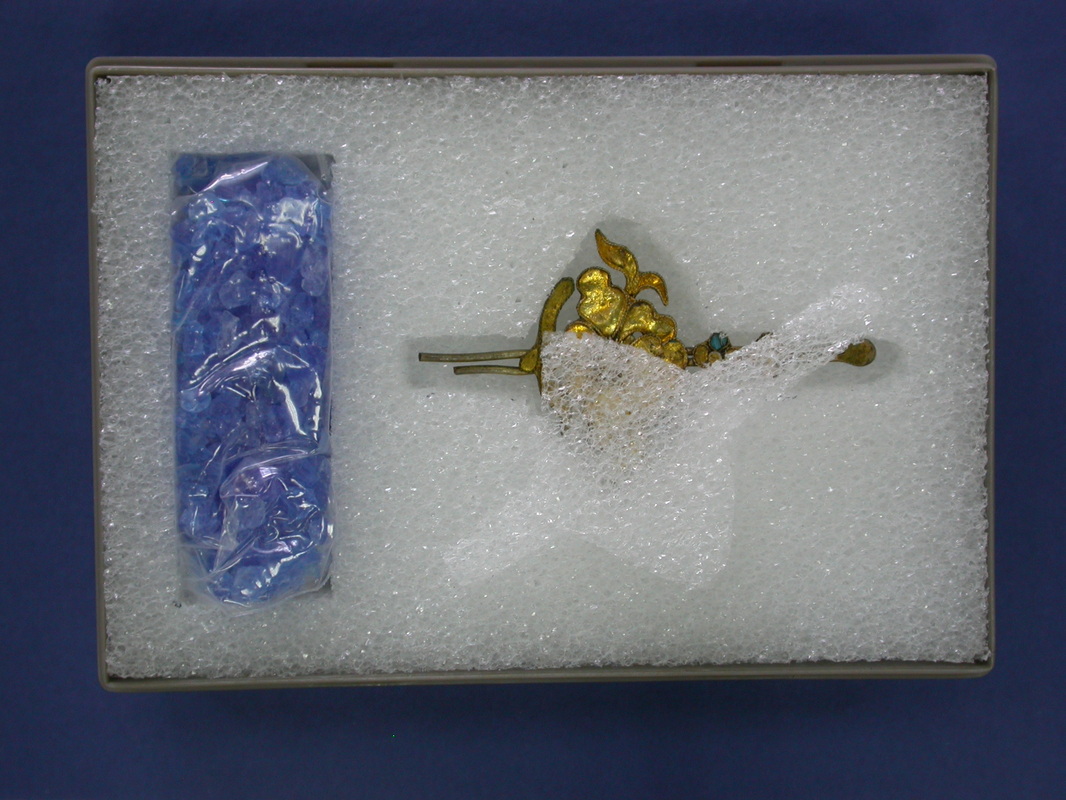
The object was placed on conservation quality polyether foam and the outline carefully traced. The object was then removed and the traced line cut around with a scalpel. A long, thin-bladed knife was then inserted in the side of the foam block and used to cut a horizontal plane 1 cm below the surface. This allowed a slice of foam to be removed about four times thicker than the hairpin. This slice was then cut down to a thickness of 2-3 mm.
Using the same technique, a well was cut in the foam block to hold silica gel desiccant. This will maintain a low relative humidity in the box (controlled micro-environment). Finally, the foam block was pushed into a strong polystyrene box with a close-fitting clear lid. The thin packing piece can be placed on top of the hairpin during transport for additional support and protection. Alternatively, when in storage the packing piece can be removed and taped to the underside of the box. This allows the hairpin to be examined without touching it or removing it from its packing.
(Click the pictures below for a larger image)
